Use A Sacrificial Fence On Your Miter Gauge For Cleaner, Safer, Accurate Cuts
A miter gauge works perfectly to help you cut accurate miters and crosscuts at the table saw. But there’s one thing you can add to any table saw miter gauge that makes it inherently better: a sacrificial fence. This inexpensive, disposable accessory, also called an auxiliary fence, is easy to make and use. You can make a miter gauge fence from plywood, MDF, or solid wood cutoffs, and you need only a few pieces of hardware at most. Build a miter gauge fence for table saw, and you’ll love what it does for your woodworking! Let’s get started.
NOTE: Because a table saw miter gauge fence typically does not get cut off at the blade, you’ll need to replace the blade-guard assembly with the riving knife to make cuts fully through and past the blade.
4 Benefits From Using A Miter Gauge Sacrificial Fence
- It provides zero-clearance support at the point of cut to prevent grain tear-out on your workpieces.
- The kerf cut in the sacrificial fence shows precisely where the blade will cut, helping you line up workpieces.
- The right portion sweeps any offcuts past the blade, greatly reducing the chances of kickback.
- You can mark on it or clamp on a stop block for making repeated cuts of identical length.
Start By Cutting Your Fence To Size
Using the table saw rip fence, rip a piece of ¾”-thick stock to about the same height as your miter gauge head (for a basic miter gauge). If your miter gauge has a stock fence attached, rip the sacrificial fence to the same height as the stock fence (2”-3” in most cases), making sure an attached flip stop will still reach over this new fence and work as usual. If you need to cut with the blade raised taller than 2”, simply make your sacrificial fence wider/taller to allow you to cut into it without severing the offcut portion. Crosscut the fence to a length that spans (approximately) from the right miter slot to the left edge of the tabletop.
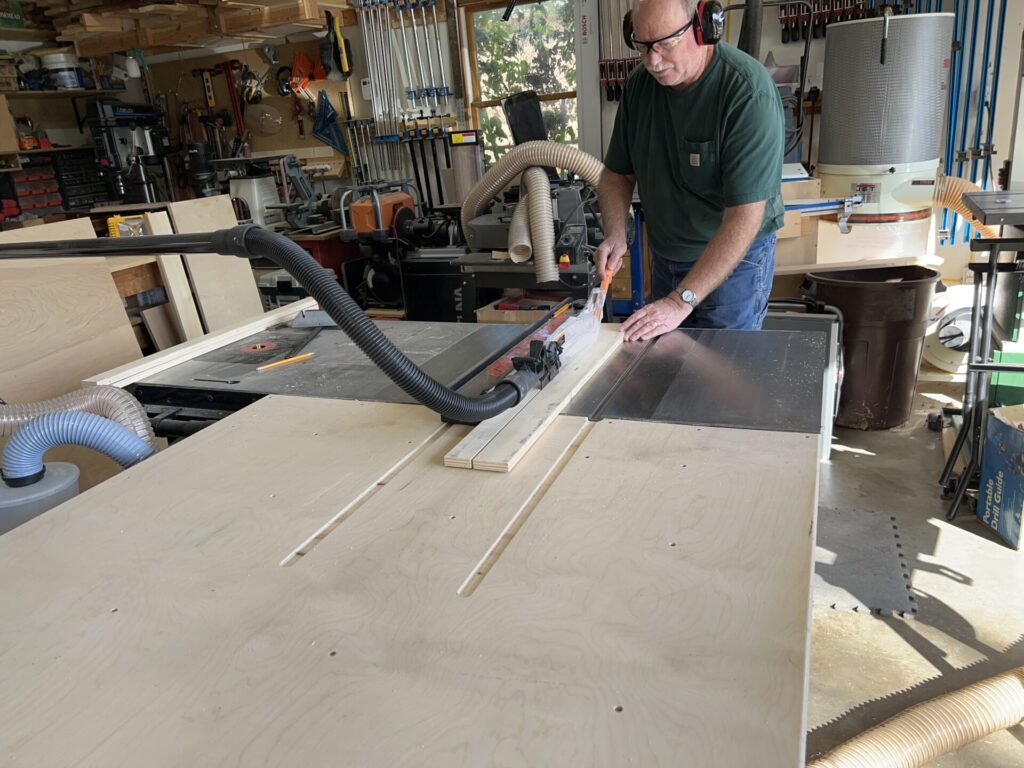
Rip the sacrificial fence to width.
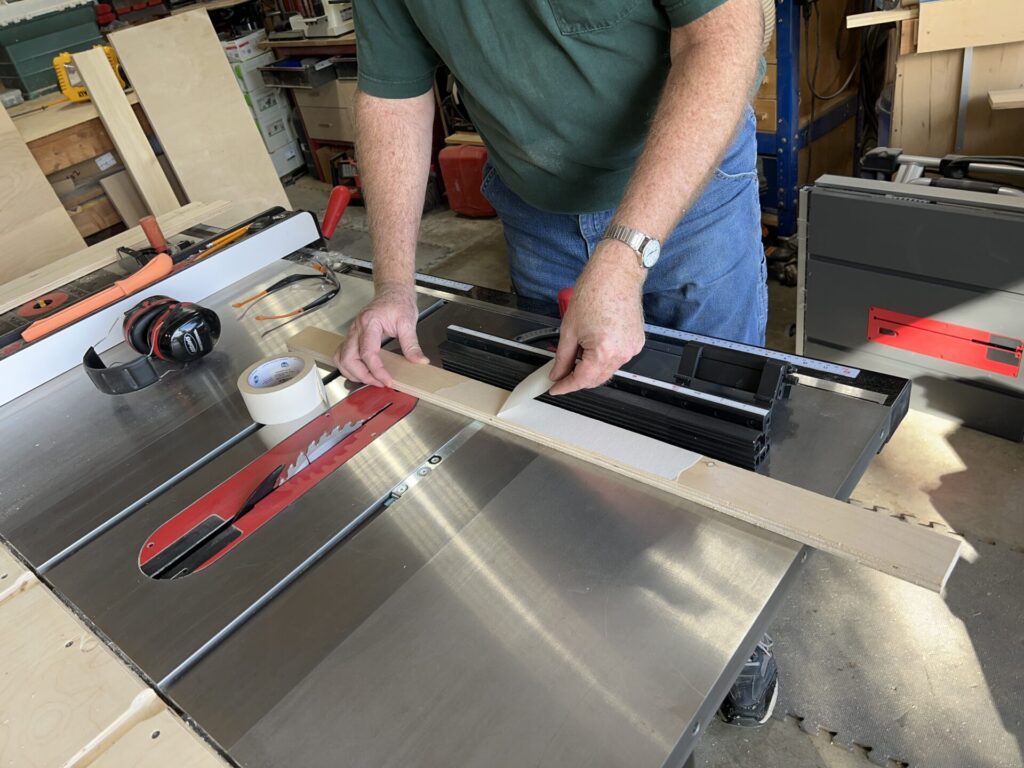
Attach It To The Miter Gauge
How you secure the sacrificial fence to the miter gauge depends on your model, but here are a few examples.
For a basic miter gauge without a stock fence, attach it to the head with a pair of pan-head or washer-head screws, whatever fits the holes or slots on your gauge. With the miter gauge in the left miter slot, rest the sacrificial fence’s edge on the table surface, positioned where you want it side to side. Then drill pilot holes and secure it with screws.
Clamp the miter gauge fence system to the miter gauge, then attach with screws.
For a miter gauge with a stock fence, you can attach the sacrificial fence in two ways. First, you can use double-faced masking tape for a quick, easy solution that holds well in the short term, but can lose its grip over time. If it begins to feel loose, simply reapply new tape.
Liberally apply double-faced tape for maximum hold during use.
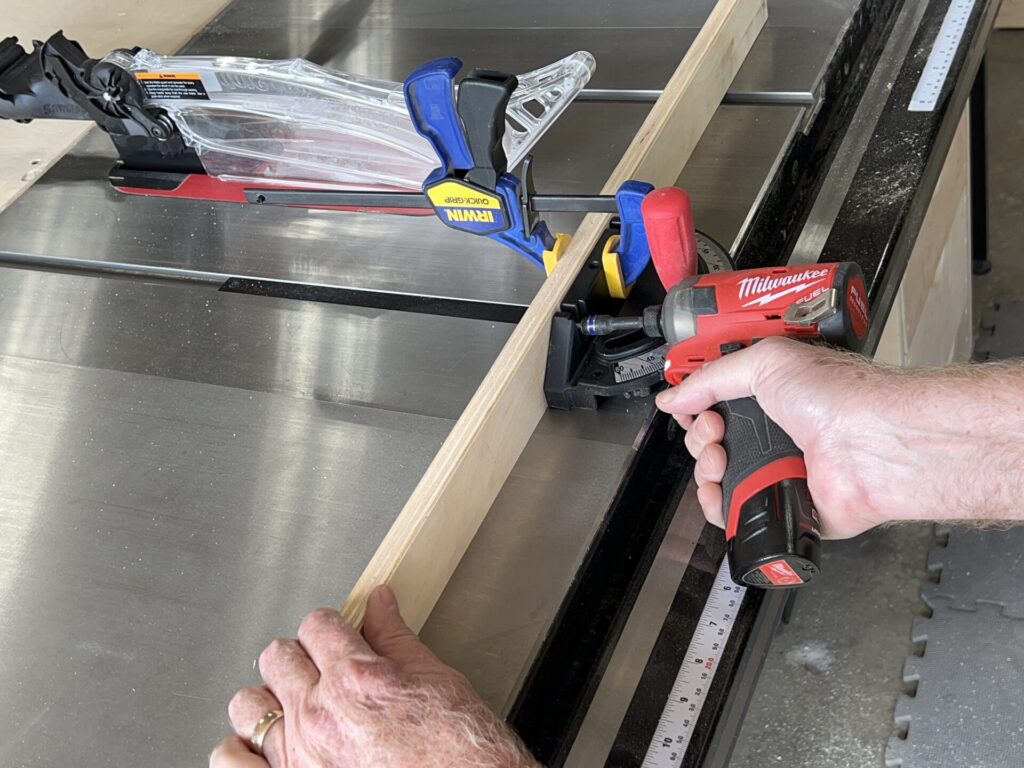
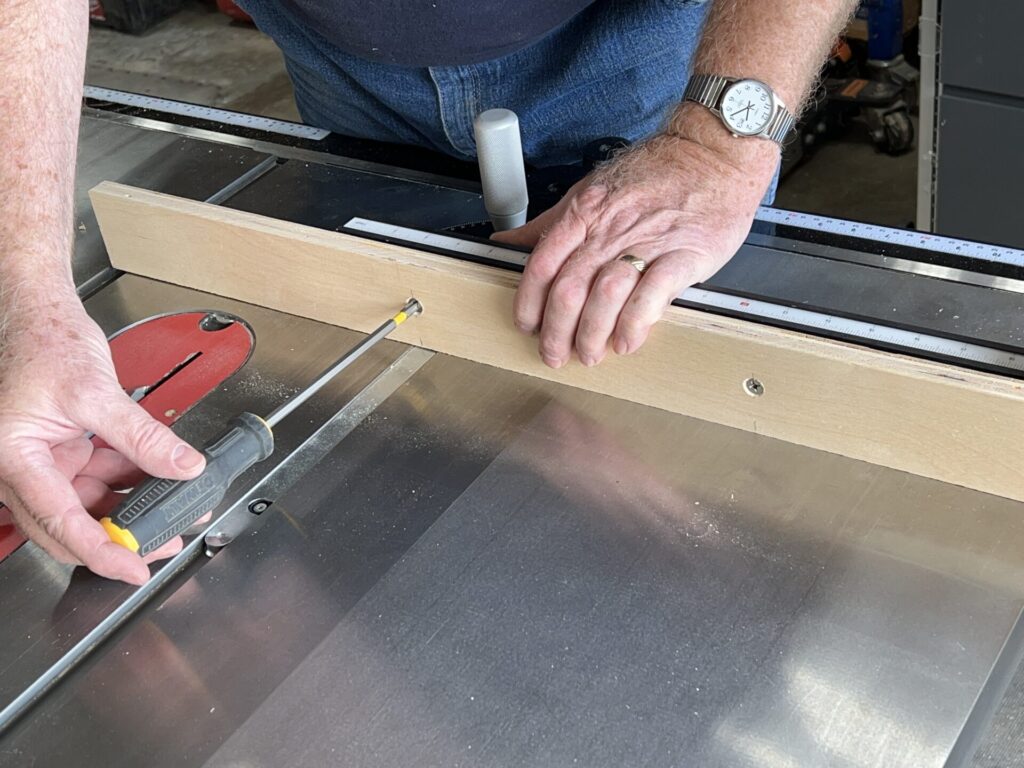
For a more “locked-in” hold, attach the sacrificial fence with ¼”- or 5/16”-diameter bolts or machine screws in a T-slot in the fence face. Insert the fasteners through the front face of the sacrificial fence with a nut on the back side. Drill the appropriate countersink (for V-shaped flathead screws) or counterbore (for hex- or round-head fasteners) to recess the fastener head, so as to not interfere with your workpieces. Two fasteners should suffice to hold the sacrificial fence in place, spaced 10”-12” apart. Once drilled, loosely secure a nut to the inserted bolt or screw, then slide the nut into the T-track. With the miter gauge in the left miter slot and the sacrificial fence resting on the table surface, tighten the fasteners securely.
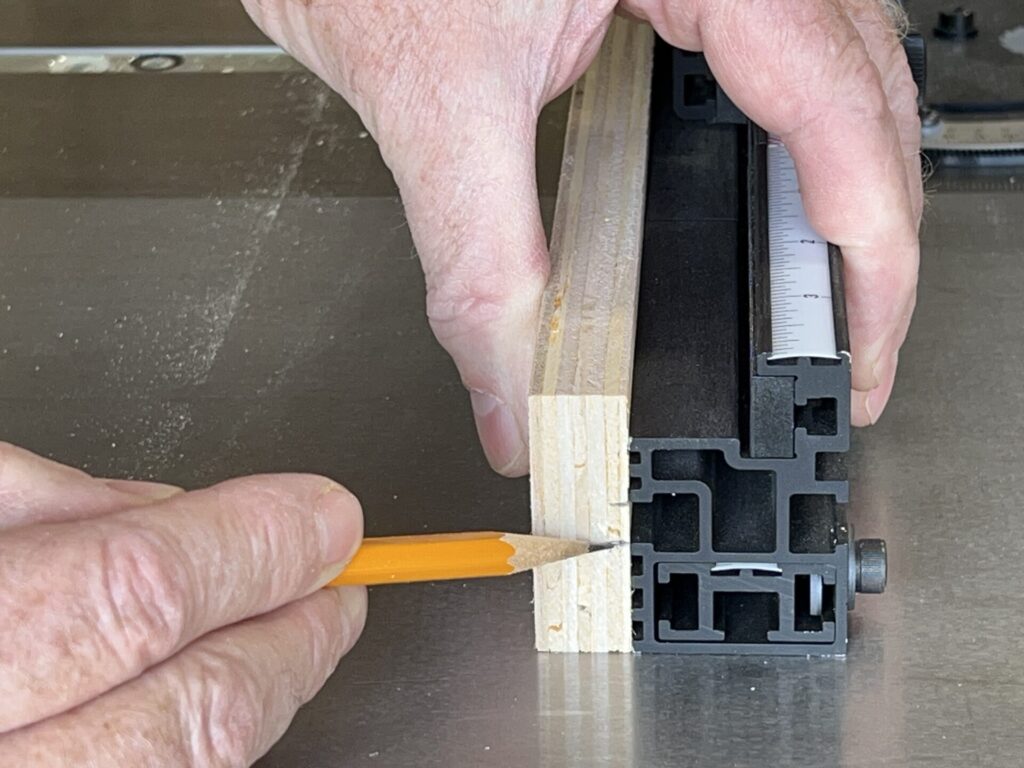
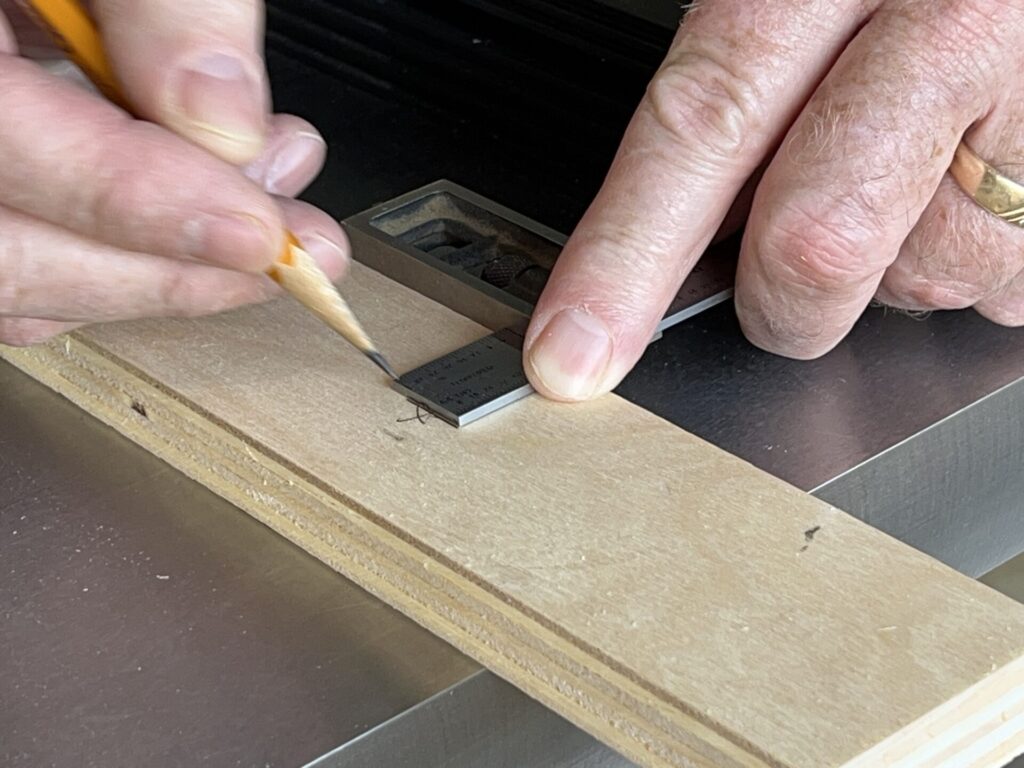
Mark the top and bottom of the T-slot onto the sacrificial fence.
With the sacrificial fence held in place where you’ll want to mount it, mark locations for the mounting fasteners.
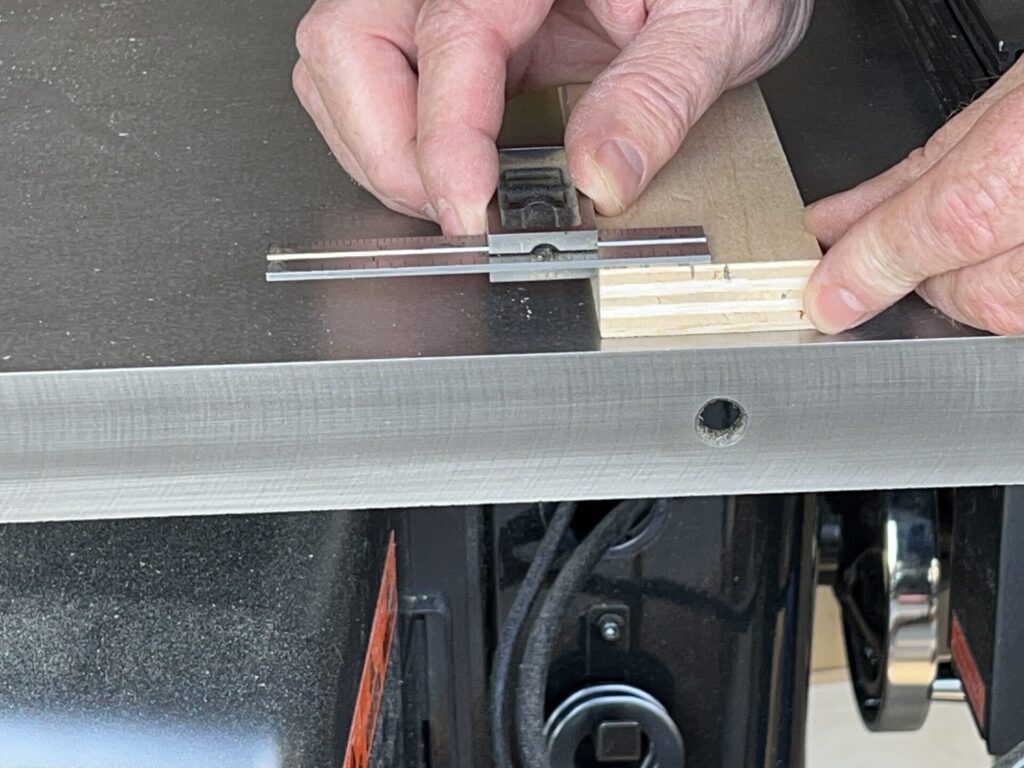
Measure the distance from the bottom edge to the center of the T-slot location…
…and transfer it at the fastener locations for the proper height.
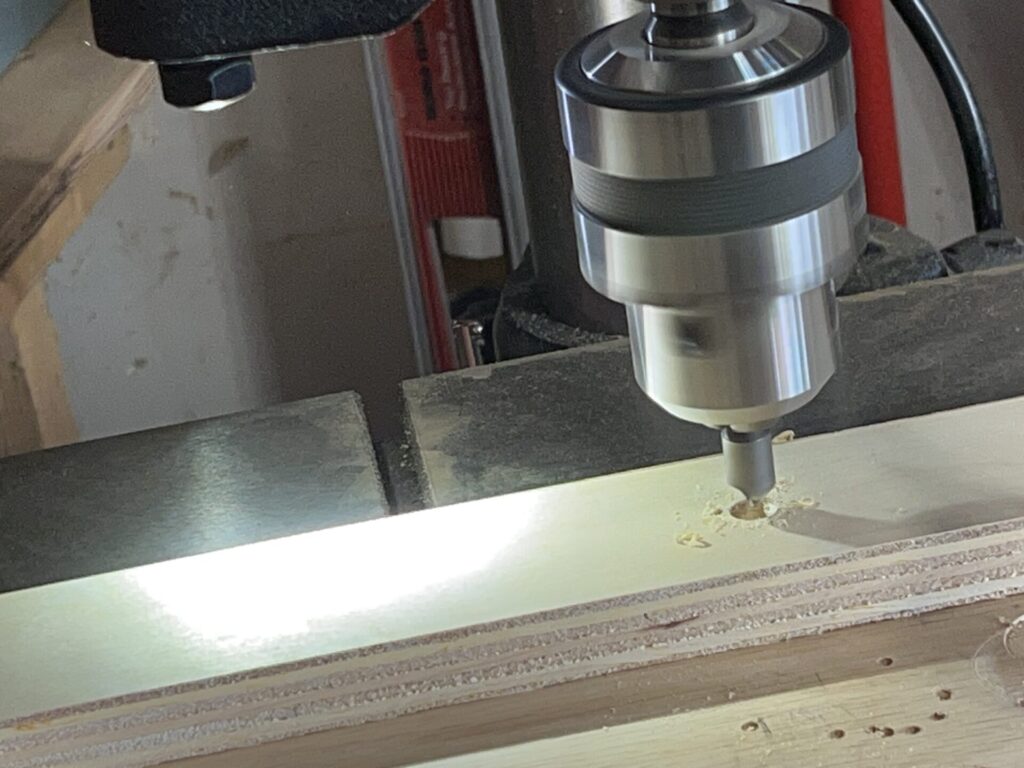
Drill countersunk pilot holes (about 1/32” larger than your fastener).
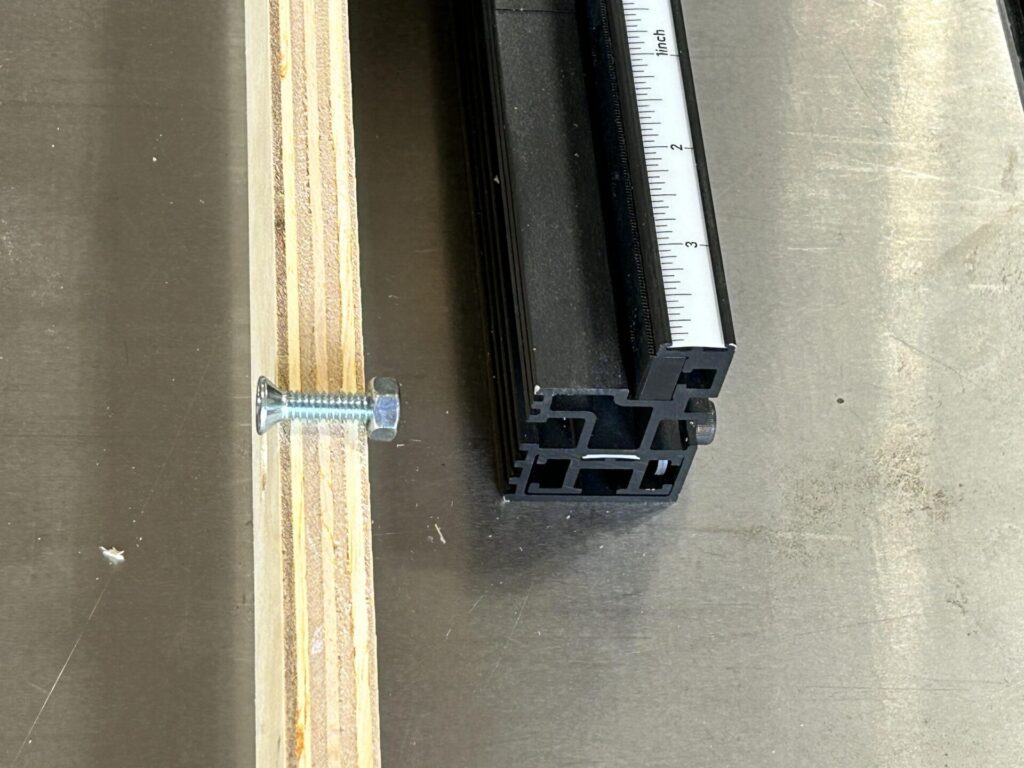
In this case, we used a 5/16 flathead machine screw with nut.
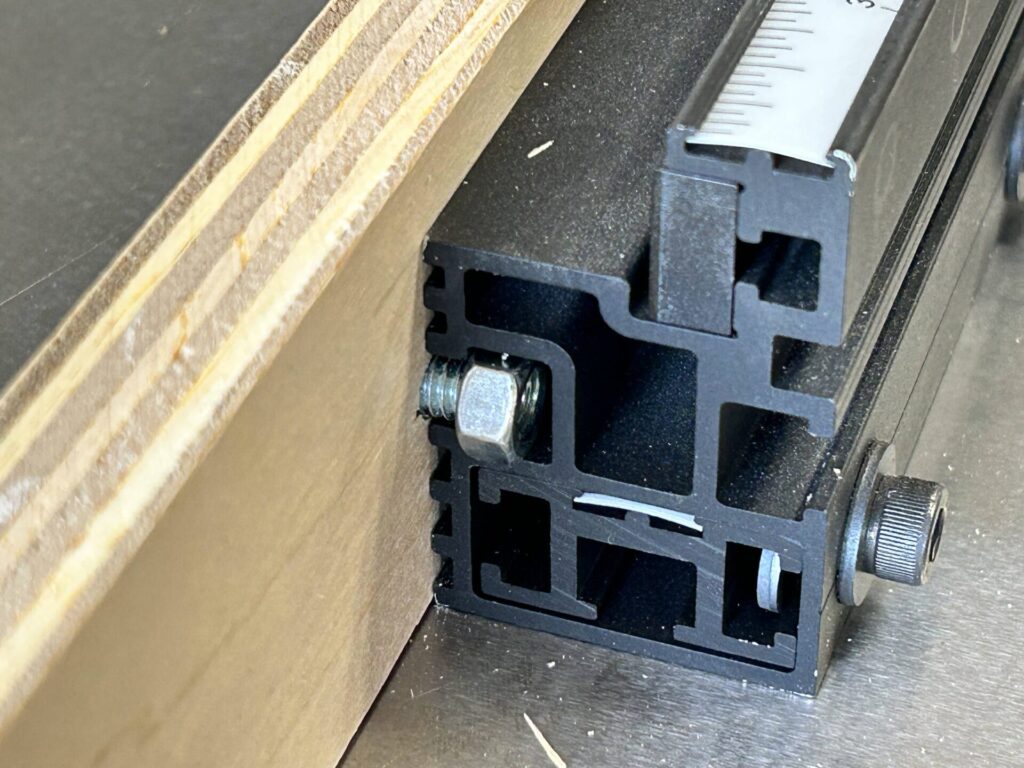
Starting at either end, slide the nut for each fastener into the T-slot.
Once you’ve positioned the sacrificial fence side to side, tighten the fasteners.
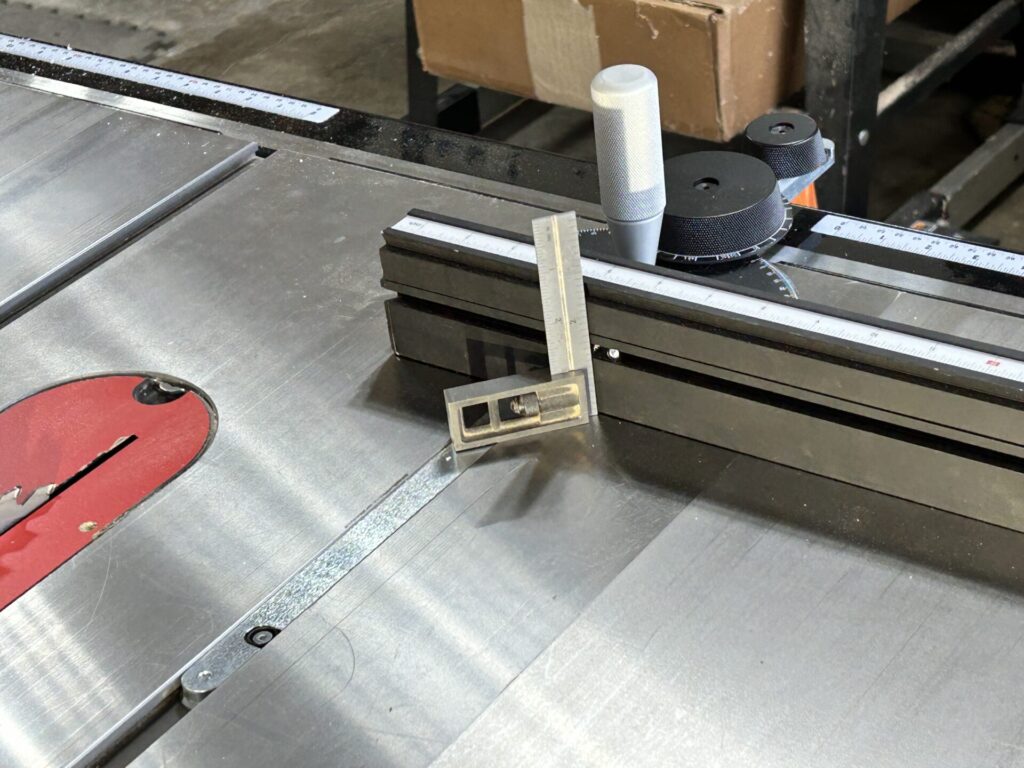
SawStop’s Revolution Miter Gauge features a unique dovetail-shaped slot on the fence face. As a result, standard fasteners might not work. Fortunately, the RMG comes with dovetail sliders to use expressly for this purpose.
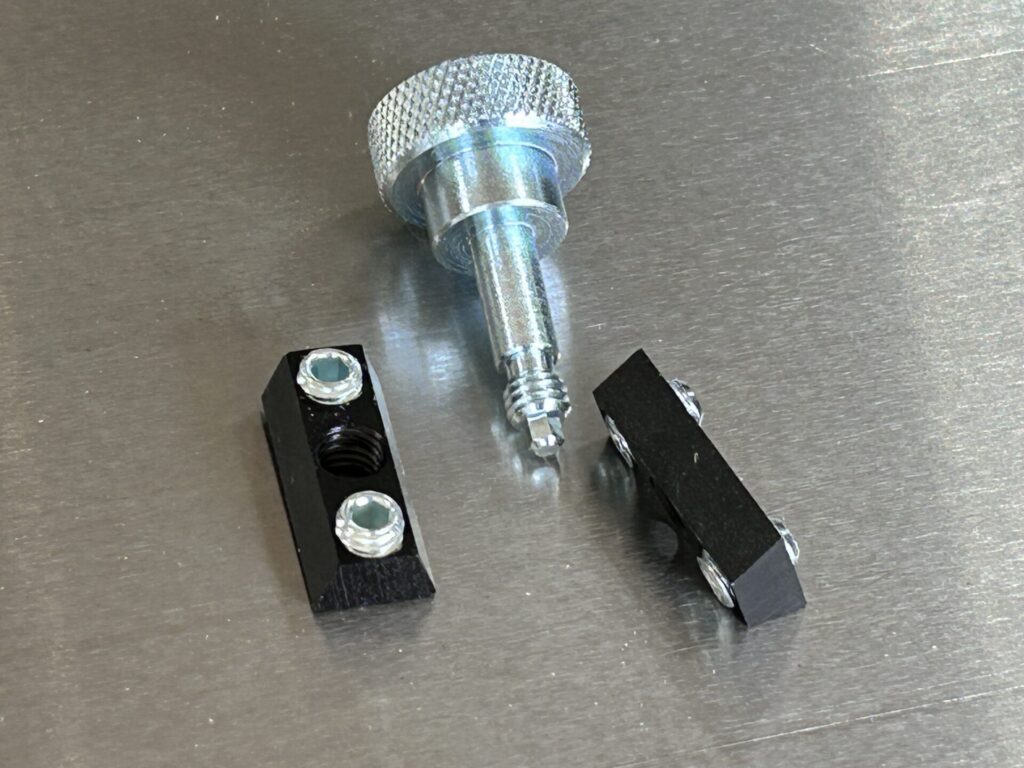
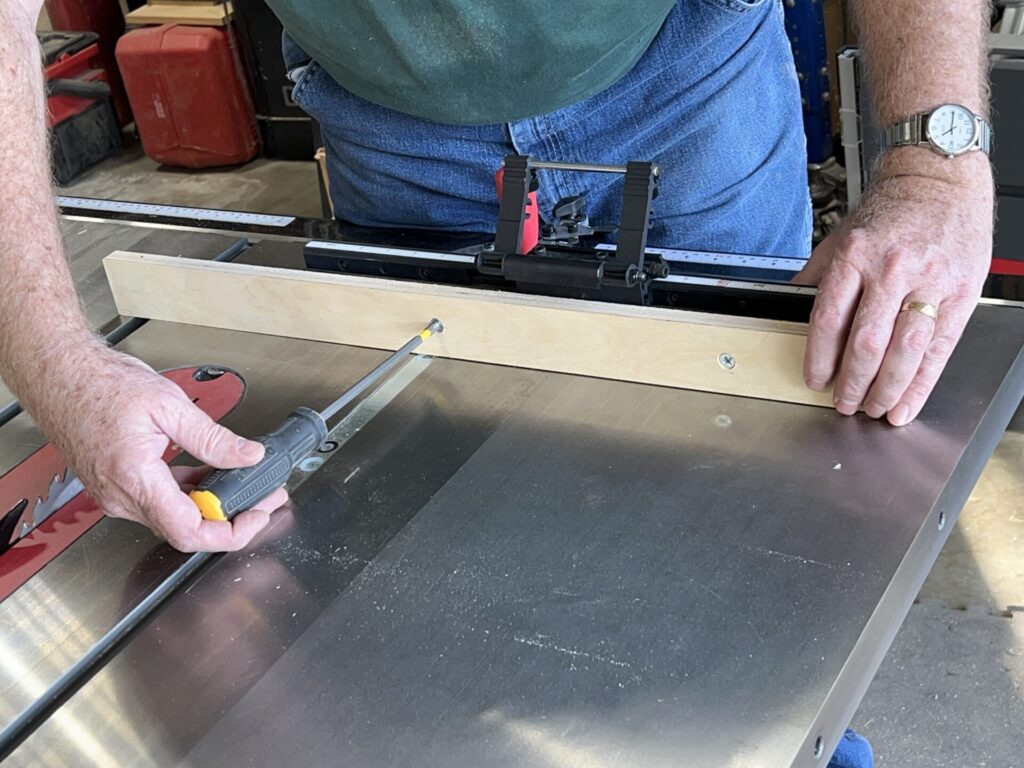
The dovetail sliders have two setscrews for securing in the slot, and the included knurled-handle wrench fits the screws perfectly.
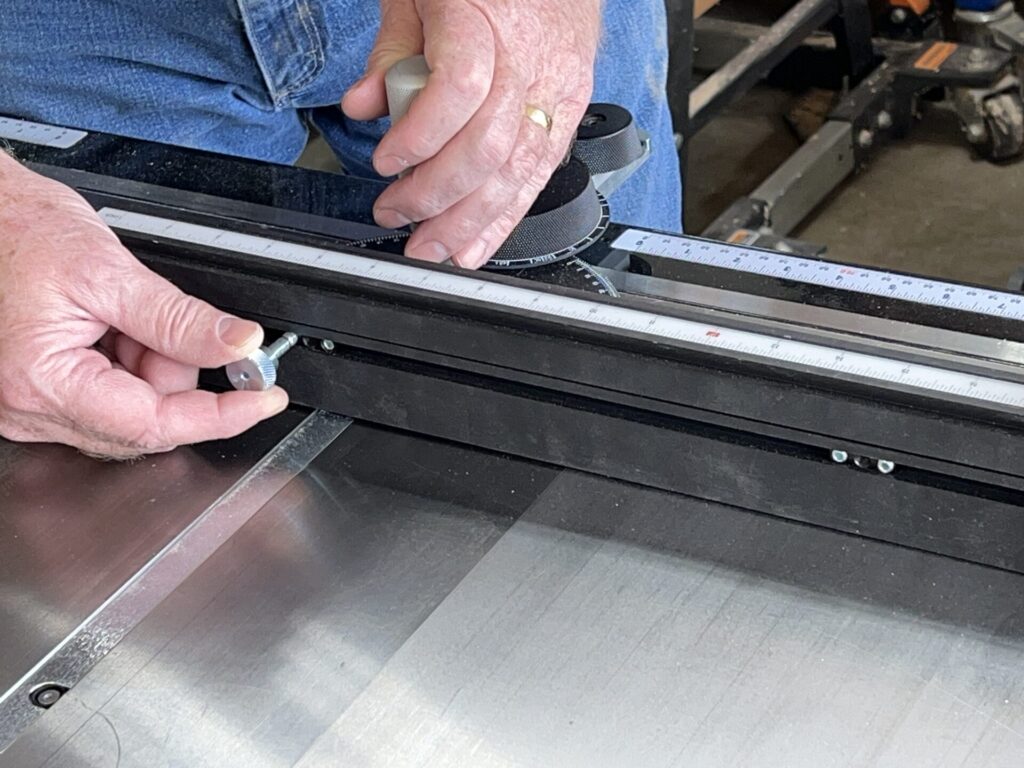
Position the sliders where you want, about 10”-12” apart, then tighten the setscrews to secure them in the slot.
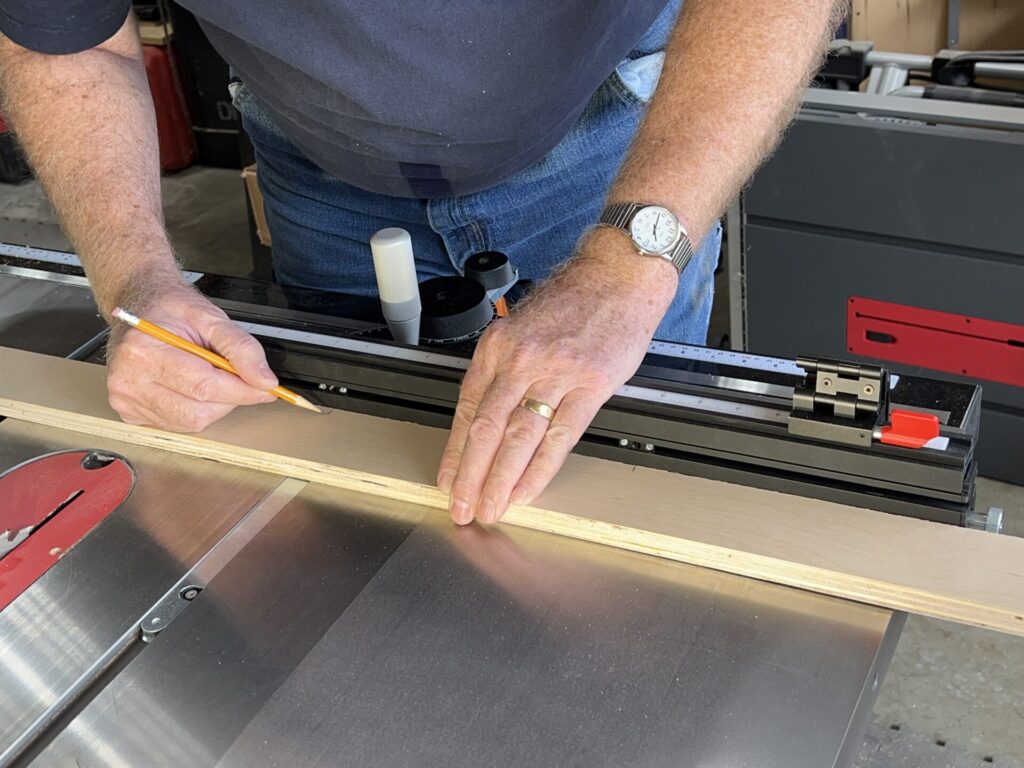
Place the sacrificial fence in front and mark the locations of the center threaded hole, which will receive the machine screw.
Measure the height to the center of the threaded hole in the sliders.
Drill countersunk holes for the machine screws, and then secure them to the sliders.
Ready For Work
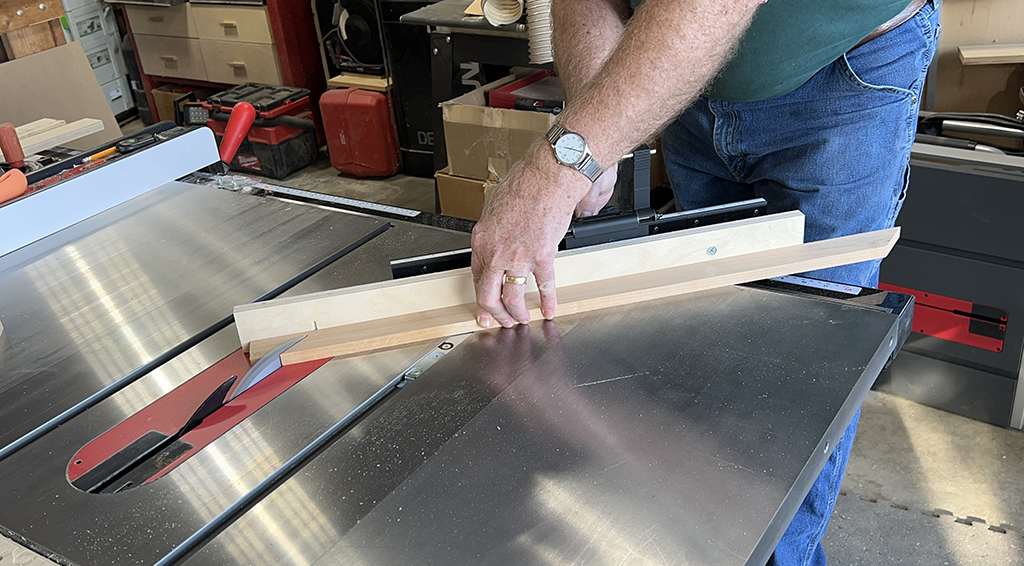
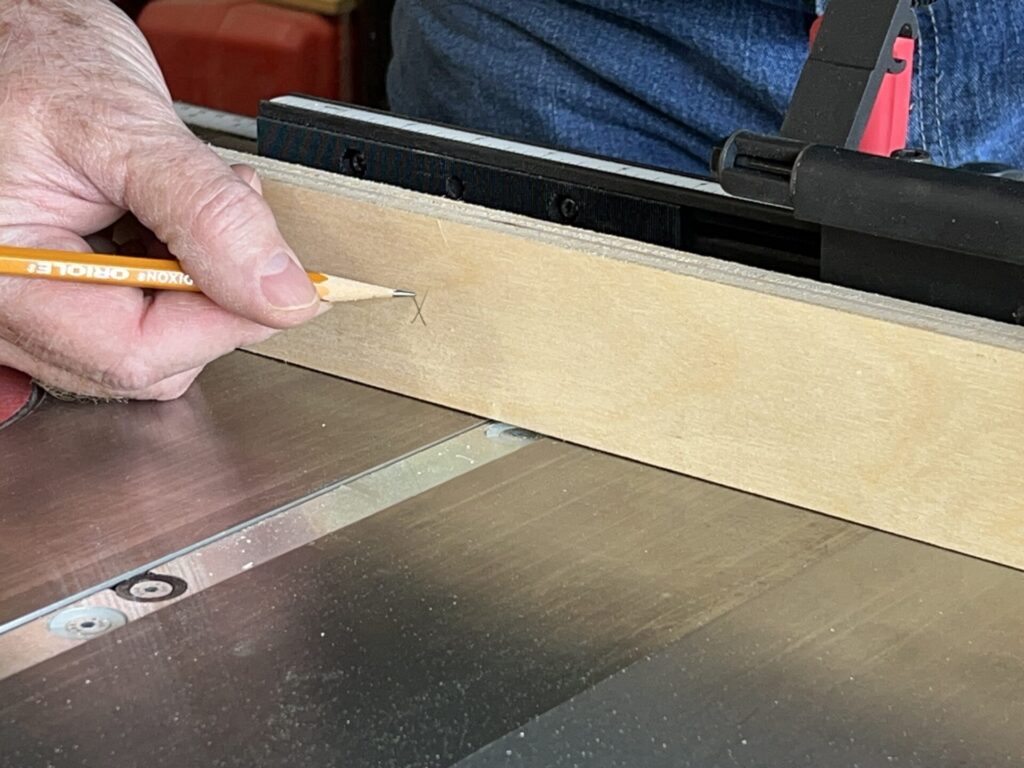
Raise the saw blade to the desired height, then slide the miter gauge forward to cut a kerf (blade slot) in the sacrificial fence. This kerf now indicates precisely where the blade will cut, so you can position workpieces accordingly. As you change blades, move the miter gauge to different angles, or tilt the blade, the kerf area will get chewed up and lose its effectiveness. When that happens, simply loosen the sacrificial fence and slide it an inch or so to either side, then retighten. You can also flip the fence end for end when too many cuts make it difficult to use effectively. So, save those narrow offcuts—they’ll make great sacrificial fences in the future!
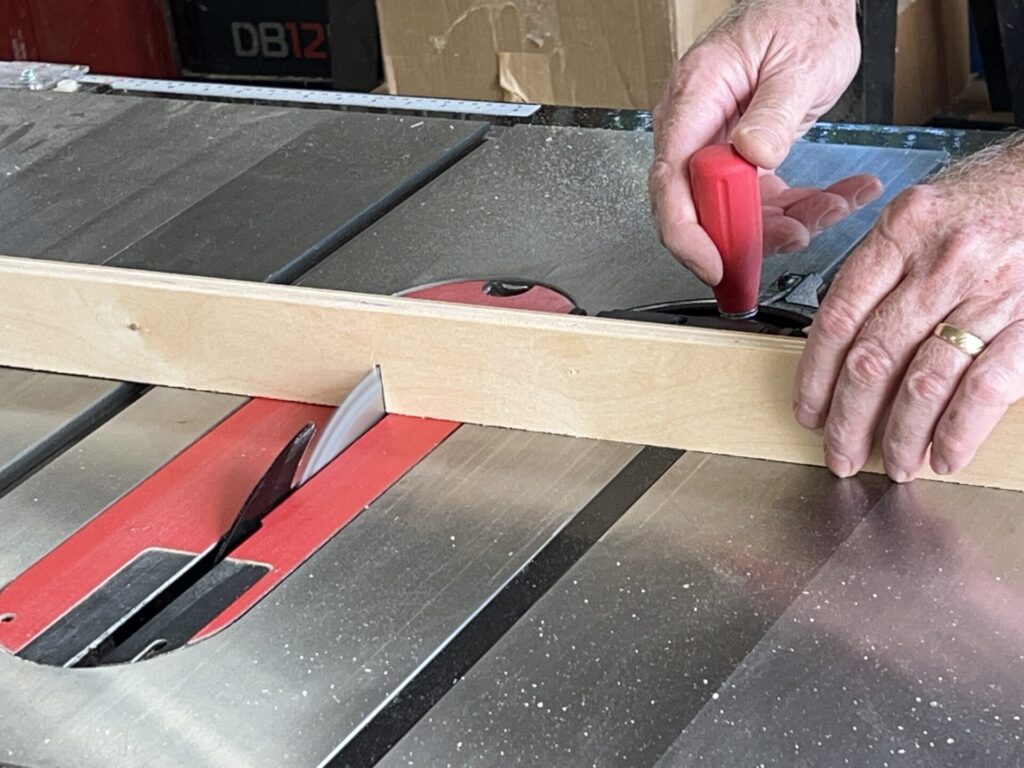
Set the blade height you need and make a relief cut in the sacrificial fence. Do not raise the blade higher than needed or it could cut off the fence portion to the right of the blade.
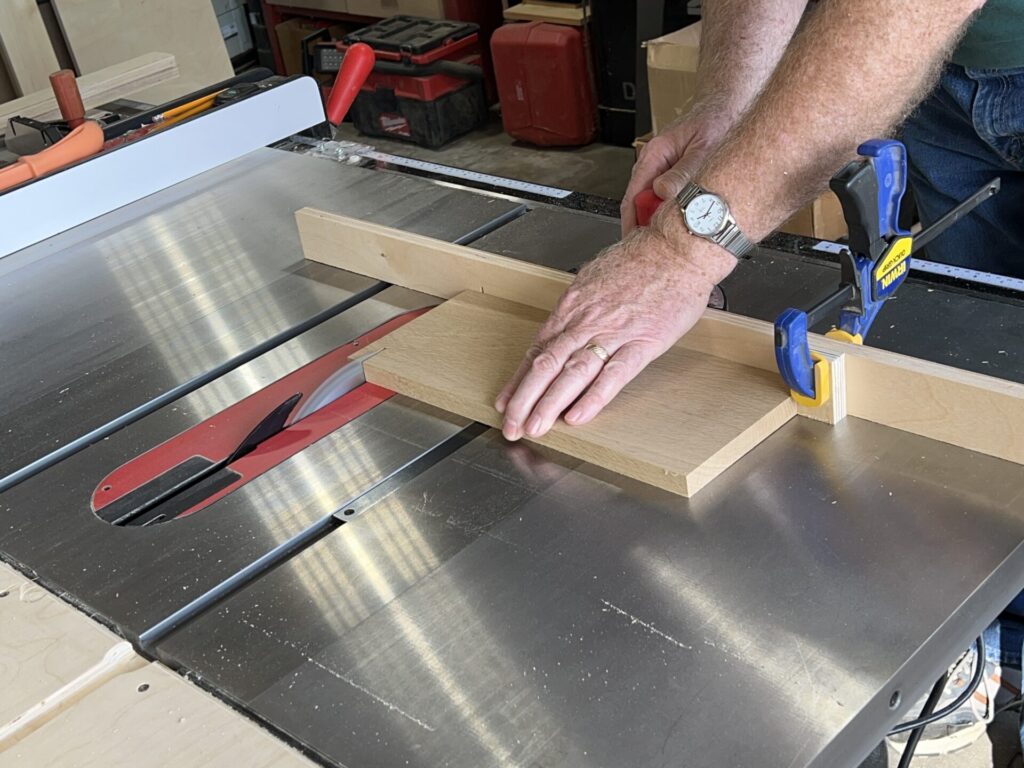
To make repeated cuts of the same length, clamp on a stop block with square-cut ends to ensure accuracy.
Debunking a Rip Fence/Miter Gauge Rule—Sort Of
You might have heard that you should NEVER use the miter gauge and rip fence together to make a cut. And that’s a good rule to follow most of the time, because you never want to trap a cutoff between the blade and rip fence, where it will likely get kicked back at you. (That’s a very bad thing.)
But there are exceptions to this rule. You can hold a workpiece against your miter gauge fence and extend it so that the end runs against the rip fence if:
- You’re making a non-through cut, such as a tenon shoulder. In this instance, there is no cutoff to get trapped.
- You’re using a stacked dado set to cut dadoes (another non-through cut).
- You’re using a stopblock clamped to the rip fence to make repetitive cutoffs of the same length. As long as this stopblock is positioned in front of the blade, the cutoff will have space between the blade and rip fence to simply lie there without risk of kickback until you can stop the saw and remove it.
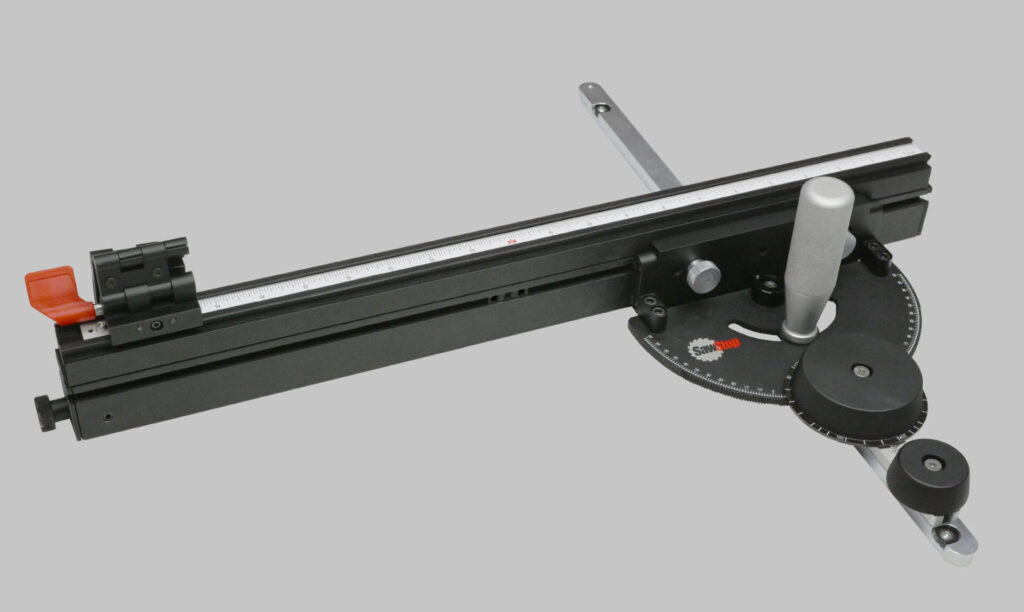
LEARN MORE ABOUT THE SAWSTOP MITER GAUGES
SawStop Scale Miter Gauge (TSA-SMG, $249)
A SawStop premium miter gauge, the SMG uses a pointer-and-notch system with 181 angle detents—up to 90° each side of 0°—for absolute precision for making miters and crosscuts. And when you need to fine-tune an angle, the Vernier scale lets you make adjustments in 1/10° increments. The SMG comes with a telescoping fence, flip stop, and adjustable miter bar.
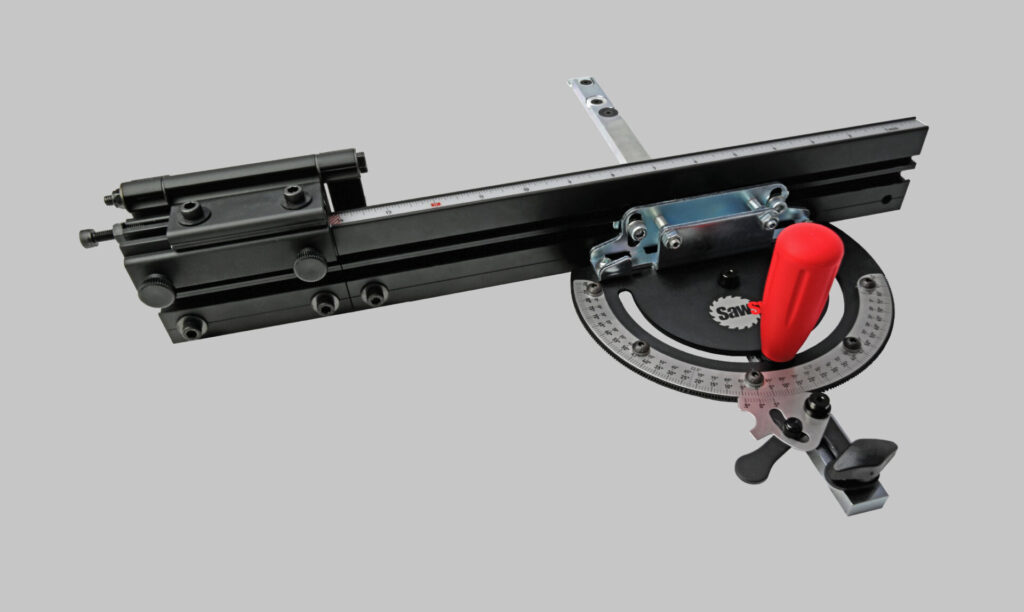
SawStop Revolution Miter Gauge (TSA-RMG, $449)
SawStop’s RMG miter gauge uses patent-pending technology to deliver precise angle setting as fine as 1/10° with a simple turn of the dial. The RMG’s geared dial system sets any angle up to 60° each side of zero, with settings in increments of 1°, 1/2°, 1/4°, or 1/10° with a positive tactile “click” in each notch as you turn the dial. You can also bypass the gear system for free turning. Make repeatable cuts up to 37″ in length using the tool-free articulating flip stop—with or without a sacrificial fence.